As solar energy adoption continues to grow in Nigeria and around the world, many homeowners and businesses are upgrading their energy systems to handle larger loads and longer backup times. One of the most effective ways to achieve this is by paralleling lithium batteries and connecting them properly to an inverter with a Battery Management System (BMS).
However, improper battery connection can lead to:
- Poor performance
- Battery imbalance
- Communication failure
- Reduced lifespan
- Safety risks
Understanding the correct process for connecting lithium batteries in parallel with your inverter BMS is essential for achieving reliable performance, system stability, and long-term durability.
In this detailed guide, we will explain step-by-step how to safely parallel and connect lithium batteries with your inverter BMS.
What Does It Mean to Parallel Lithium Batteries?
Paralleling batteries means connecting multiple batteries together to increase the total battery capacity (Ah) while maintaining the same voltage.
Example:
If you connect:
- Two 48V 100Ah batteries in parallel
You will get:
- 48V 200Ah system
The voltage remains the same, but the storage capacity increases.
This allows:
- Longer backup time
- Increased energy storage
- Better support for heavy loads
Why Parallel Lithium Batteries?
There are several reasons users parallel lithium batteries.
Benefits Include:
- Increased backup duration
- Higher energy storage capacity
- Improved load handling
- Easier future system expansion
- Better system flexibility
Paralleling batteries is common in:
- Residential solar systems
- Commercial solar installations
- Industrial backup systems
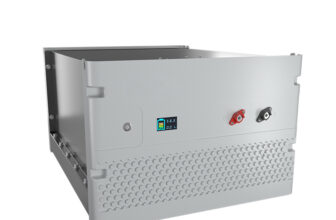
Understanding the Role of the BMS
The Battery Management System (BMS) is one of the most important components in a lithium battery system.
The BMS is responsible for:
- Monitoring battery voltage
- Preventing overcharging
- Preventing deep discharge
- Balancing battery cells
- Protecting against overheating and short circuits
When batteries are connected in parallel, proper BMS communication ensures stable and safe operation.
Things to Check Before Connecting Lithium Batteries in Parallel
Before starting the connection process, there are important factors to verify.
- Use Identical Batteries
Always use batteries with:
- Same voltage
- Same capacity
- Same brand
- Same chemistry
- Same age (preferably)
Using different batteries can cause imbalance and reduce system performance.
- Ensure Batteries Have Similar Voltage Levels
Before connecting batteries together:
- Check each battery voltage using a multimeter
Voltage difference should be minimal.
Large voltage differences may cause:
- Sudden current flow
- Damage to batteries
- BMS faults
- Confirm Parallel Support
Not all lithium batteries support parallel connection.
Check:
- Manufacturer specifications
- User manual
- BMS compatibility
- Use Proper Cable Sizes
Incorrect cable sizes can lead to:
- Overheating
- Voltage drop
- Power loss
Always use high-quality cables rated for the system current.
- Turn Off All Equipment
Before installation:
- Power off inverter
- Disconnect solar input
- Disconnect AC power
Safety should always come first.
Tools and Materials Needed
Before starting, prepare the following:
Required Tools:
- Battery cables
- Screwdrivers/spanners
- Multimeter
- Protective gloves
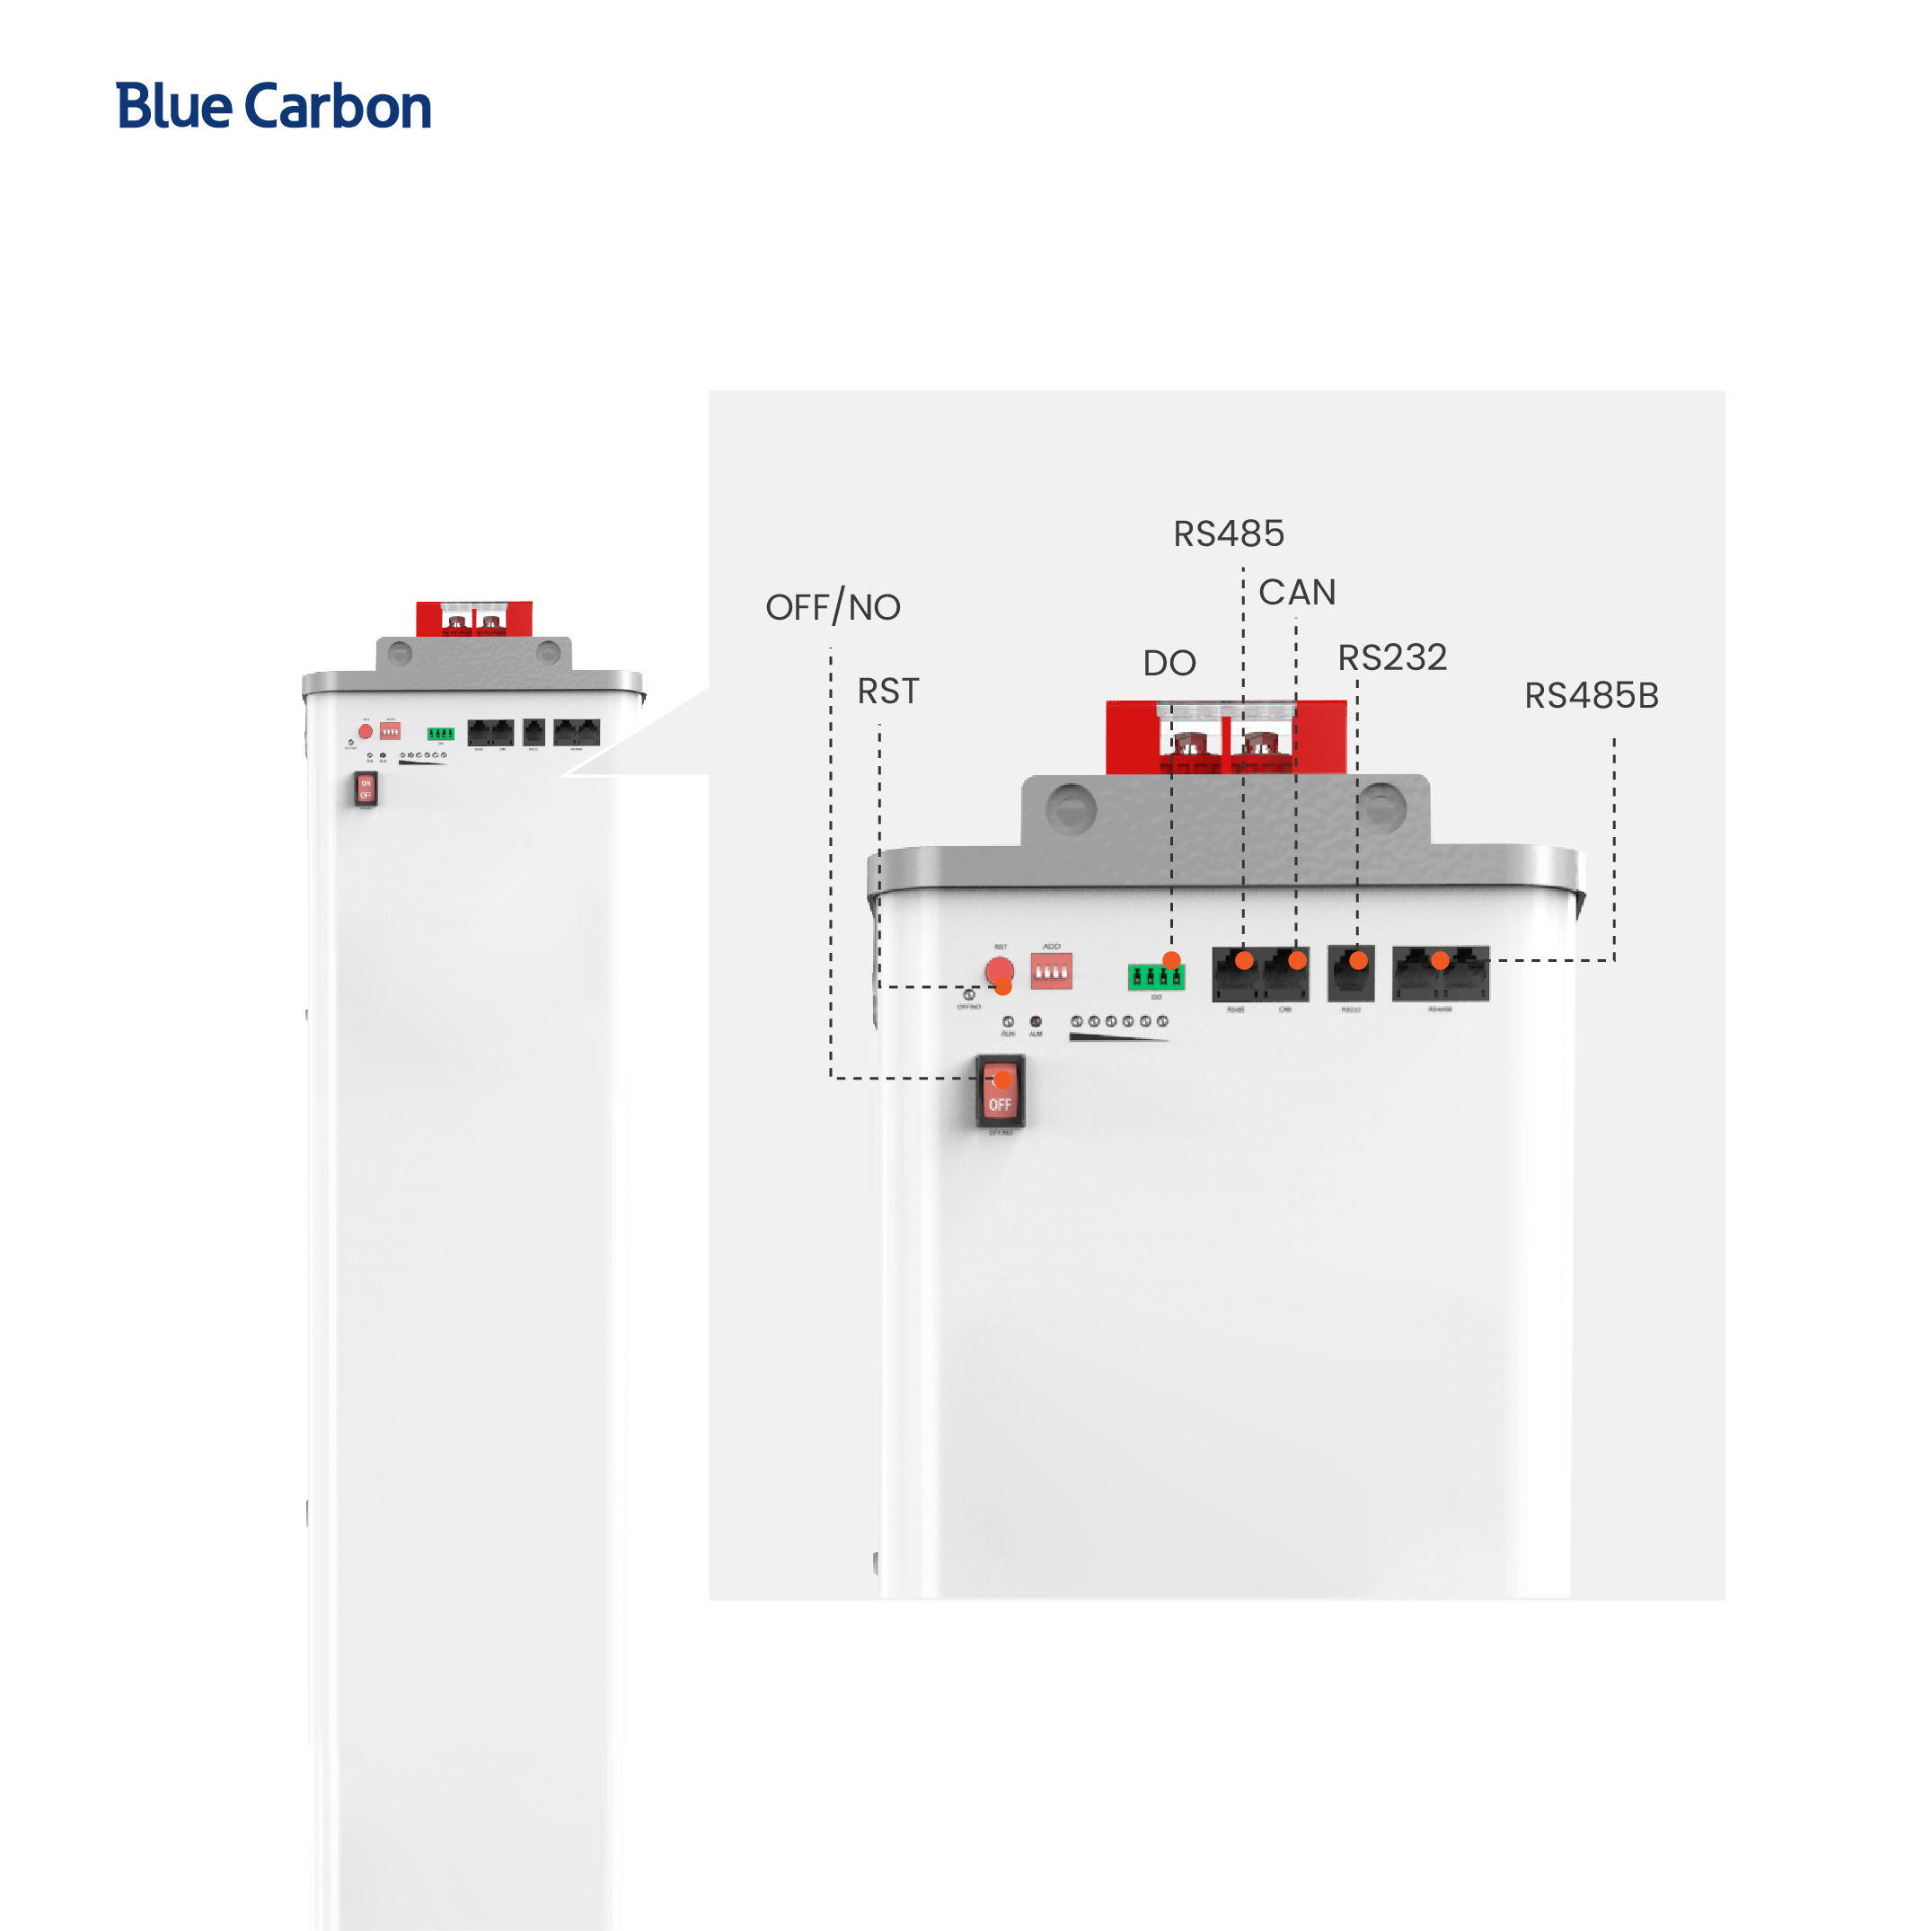
- Communication cables (CAN/RS485 if required)
- Circuit breakers or fuses
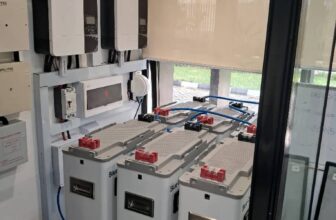
Step-by-Step Guide to Parallel Lithium Batteries
Step 1: Position the Batteries Properly
Place the batteries:
- On a stable surface
- In a cool, dry, ventilated area
- Away from direct sunlight and moisture
Proper ventilation improves battery lifespan and safety.
Step 2: Check Battery Voltage
Use a multimeter to verify:
- All batteries have nearly identical voltage
This is critical before making connections.
Step 3: Connect Positive Terminals Together
Using the correct cable:
- Connect positive (+) terminal of Battery 1 to positive (+) terminal of Battery 2
Repeat for additional batteries if needed.
Step 4: Connect Negative Terminals Together
Next:
- Connect negative (-) terminal of Battery 1 to negative (-) terminal of Battery 2
This creates the parallel connection.
Step 5: Install Circuit Protection
Install:
- DC breakers
- Fuses
This protects the system from:
- Short circuits
- Overcurrent conditions
Step 6: Connect Batteries to the Inverter
Now connect the battery bank to the inverter.
Connection Process:
- Battery positive → inverter positive
- Battery negative → inverter negative
Ensure:
- Tight and secure connections
- Correct polarity
Wrong polarity can damage the inverter instantly.
Step 7: Connect Communication Cable (BMS Communication)
Most modern lithium batteries require communication with the inverter through:
- CAN cable
- RS485 cable
This allows:
- Battery monitoring
- Smart charging control
- Fault communication
Step 8: Configure Master and Slave Batteries (If Required)
Some lithium battery systems require:
- One battery set as Master
- Others set as Slave
Follow manufacturer instructions carefully.
Step 9: Configure Inverter Battery Settings
Enter inverter settings and configure:
- Battery type → Lithium
- Charging voltage
- Float voltage
- Maximum charging current
Proper settings protect battery lifespan.
Step 10: Power On the System
After checking all connections:
- Turn on batteries
- Turn on inverter
- Monitor startup process
Ensure:
- No error messages
- Stable voltage readings
- Proper communication between battery and inverter
Importance of BMS Communication with Inverter
BMS communication allows the inverter to:
- Monitor battery status
- Adjust charging automatically
- Protect battery health
- Improve system efficiency
Without communication, charging may become inaccurate.
Common Mistakes to Avoid
- Mixing Different Battery Brands
Different batteries may have:
- Different charging behavior
- Different BMS protocols
This can cause communication problems.
- Ignoring Voltage Matching
Connecting batteries with different voltages may damage them.
- Using Undersized Cables
Small cables may overheat under heavy loads.
- Wrong Polarity Connection
Incorrect positive/negative connections can destroy equipment.
- Skipping Circuit Protection
Always use:
- Breakers
- Fuses
- Disconnect switches
Benefits of Proper Battery Parallel Connection
When properly connected, parallel lithium batteries provide:
✔ Longer Backup Time
More stored energy for longer operation.
✔ Better Load Handling
Supports larger appliances and equipment.
✔ Improved System Reliability
Stable energy delivery and safer operation.
✔ Easy Expansion
Additional batteries can be added later.
Why Lithium Batteries Are Ideal for Parallel Systems
Lithium batteries are preferred because they offer:
- High efficiency
- Fast charging
- Long lifespan
- Stable voltage output
- Low maintenance
They are especially suitable for modern solar systems.
Safety Tips During Installation
Always:
- Wear protective equipment
- Use insulated tools
- Avoid short circuits
- Follow manufacturer instructions
- Work with qualified professionals if unsure
Safety should never be ignored.
When to Hire a Professional Installer
Although some users attempt DIY installations, professional installation is recommended for:
- Large battery banks
- Commercial systems
- Three-phase inverters
- Complex BMS communication setups
Professionals ensure:
- Correct configuration
- Safe installation
- Warranty protection
Conclusion
Paralleling lithium batteries and connecting them properly to your inverter BMS is an effective way to increase energy storage capacity and improve solar system performance.
However, success depends on:
- Using compatible batteries
- Correct wiring
- Proper BMS communication
- Accurate inverter settings
When done correctly, parallel battery systems provide reliable backup power, longer runtime, and improved energy efficiency.
Whether for residential or commercial applications, understanding the correct installation process helps maximize battery lifespan, system safety, and long-term performance.